29 Dec 2025 •
2 min. read

Hey Luc, what’s going on? Why were you away so long?
Well, me and my awesome colleagues (yes, they sometimes check this blog) have been migrating away from big-tech like Microsoft, Google, Oracle, Apple etc. Not because they were no good (most of our core is still running on AWS servers) but because we became sick of the AI-slop and data-sucking most are nowadays involved in.
Anyways, we also decided to do a bit of self-hosting and move all our laptops to something different. No more Ubuntu or Fedora but suckless DWM on Arch (with the LTS & performance kernels).
Migrating was tough, writing a bunch of add-ons even harder, but the final result is here to stay.
On a personal note on my 2 systems I additionally:
- Removed my 2 external monitors and keyboard. Not to be minimalist, but to reduce context switching. I kept the mouse because speed still matters.
- The same thing with my software. Vim became nVim which turned in Lazy-Vim (maybe later nvi). Alacritty became xterm, then st. And Firefox became qutebrowser.
I didn’t look for the lighter tools, but for ones I could trust and reason about. Less abstraction, fewer surprises.
Today I use two identical laptops – one for work, one personal – same setup, side by side, one mouse for each.
The environment disappears, and the work stays.
And for what its worth, the DWM I’m sporting now is one that no one else has; it is mine and in that sense truly unique. You build your own program, patches, the binds et al.
Making sure all prerequisites are fulfilled you can then just copy your suckless configs to basically any distro and run a sudo make clean install.
I guess I finally found my sweet spot after all.
PS. A video showcasing various suckless tools will follow. Till then, if interested, you could pay the Bread on Penguins YT channel a visit.
Its content is absolutely fantastic. I swear, if she’d move to Europe, I wouldn’t hesitate to offer her a job.
04 Nov 2024 •
< 1 min. read
All you need to know when examining your Linux server system.
Be sure to check out Brendans blog for a galore of other diagrams and books!
01 Apr 2023 •
1 min. read
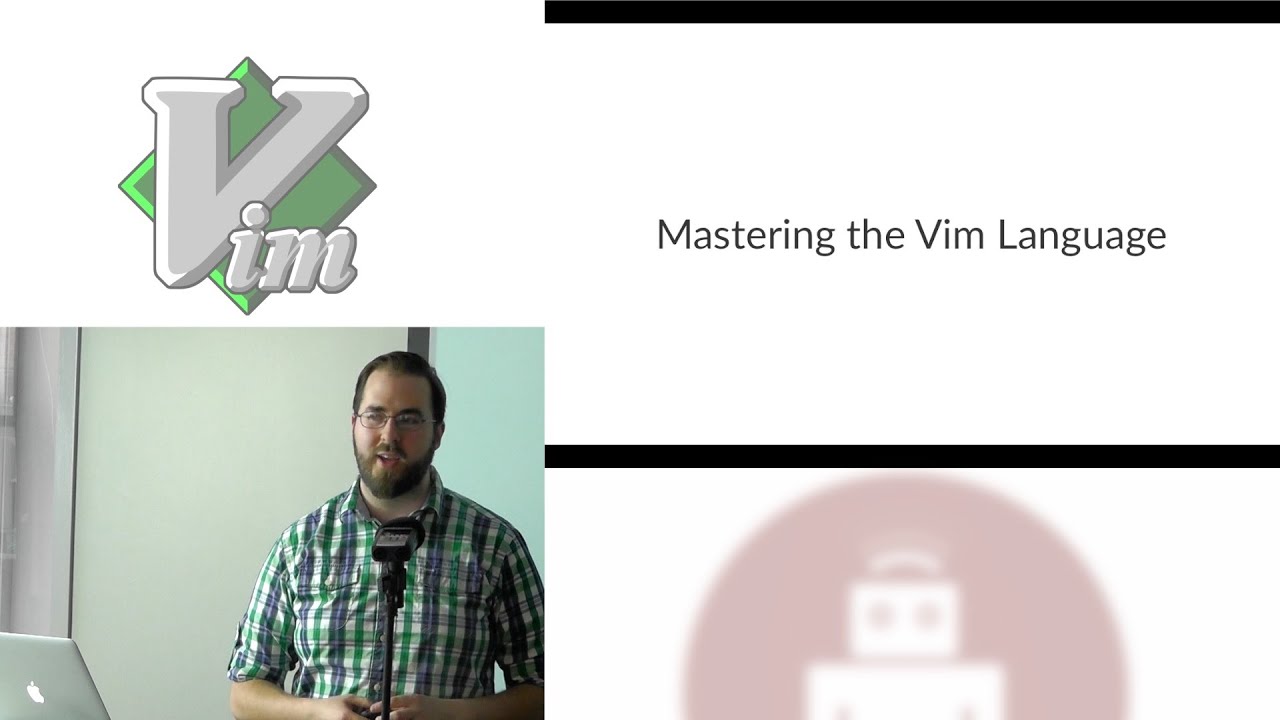
Since I was talking about Vim, the Acme Text Editor written by Rob Pike for Plan 9 in the early 1990s is another favorite. Nothing but yellowish windows and blue bars with a focus on the job to be done.
Acme combines several aspects of window systems, shells, and editors. Designed to support software development but not a true programming toolkit. Instead, it is a self-contained program; more like a shell than a library, that joins users and applications.
From the perspective of the application e.g. compiler, browser, etc., it provides a universal communication mechanism based on familiar Unix or GNU - Linux file operations, that permits your small applications even shell procedures to exploit the graphical user interface of the system and communicate with each other.
For the user, the interface is extremely spare, consisting only of text, scroll bars, one simple kind of window, and a unique function for each mouse button. There are no widgets, no icons, not even pop-up menus.
Despite these GUI limitations, Acme is still an effective environment in which to work and, particularly, to program.
It’s rather difficult to explain how it works without seeing it though, so I added a screencast from Russ Cox’s Golang page showing a brief programming session.
PS. Each time people tell me today’s Acme users are borderline insane, I send them the above link and they usally shut up.
11 Nov 2022 •
1 min. read
For the past three years I used Vim almost exclusively to become efficient with it.
I wrote code, countless articles and documentation. Me and Vim we were ok till I watched this video and realized I had been living in blissful ignorance, relying on plugins, a 200 lines long .vimrc file that completely changes how Vim works, and bad advise given by people who know nothing about VI.
Please note that Chris Toomey is ‘flying’ through commands and concepts, which makes it quite difficult to follow for Vim newbs and regular users alike.
22 Oct 2022 •
1 min. read
Can’t believe I’ve never mentioned Goyo, one of my most used Vim plugins ever.
It adds a distraction free mode that helps me focus while writing by centering the content and hiding all other elements.
Other nice features are the support of console ANSI-sequences for curl, httpie or wget; HTML for web browsers; or PNG for graphical viewers.
Usage
Toggle Goyo:
:Goyo
Turn on and resize Goyo to the dimension 100x50:
:Goyo 100x50
Turn off Goyo:
:Goyo!
My configuration changes
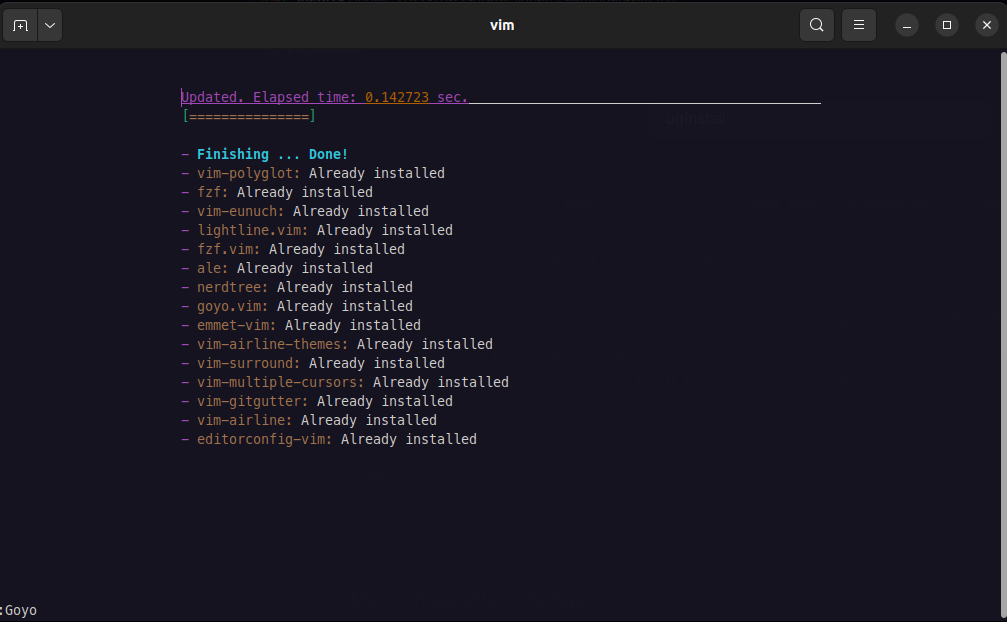
The plugin works just fine as is, but I did change the text area in my vimrc config file (as seen in the image above), as I find that to be a better fit for my eyes:
let g:goyo_width=100
let g:goyo_height=50
Finally, as piece de resistance, I added a shortcut by bounding the toggle feature to the key g:
map <C-g> :Goyo<CR>
Note
Are you interested in trying Vim? I can highly recommend checking out this link. Trust me, it’s by far not that hard as many people want you to believe. :)
03 Oct 2022 •
5 min. read
These tips are meant for Ubuntu systems, but in general any Debian based distro should be ready to go.
Keep in mind that, as everything in life, nothing comes for free. Every optimization has its own pricetag and you must decide how much you are willing to pay for it.
Burning my disk, no more …
The Firefox sessionstore
Sessionstore is responsible for caching which pages were already opened should Firefox suddenly crash. While this is a great feature (you reopen all lost tabs and continue browsing), it causes a lot of writes to your SSD.
Disabling is really easy. Type about:config in de addressbar and press Enter. Click on agree and look for sessionstore. Double-click on browser.sessionstore.interval and change 15000 (15 seconds) to 15000000. Press OK, restart Firefox.
Swappiness (dismiss when having more than 16 Gb RAM)
When working with limited RAM, Ubuntu will aggressively try to free memory to enlarge the caches aka swapping. This again will lead to large quantities of write actions on your SSD which in their turn slow down your system and chip away at the disk’s total lifetime.
To change Ubuntu’s standard swap_tendency weight, open a terminal and query the current swappiness value by typing:
$ cat /proc/sys/vm/swappiness
Probably swappiness wil return a value of 60 which is too high for normal use. Let’s edit the configuration file:
$ gedit admin:///etc/sysctl.conf
The text editor app will open. At the end type:
# Lower swap_tendency
vm.swappiness=25
and save. To activate the new setting, restart the computer.
Move /tmp to tempfs
Another trick to make a machine run faster is moving /tmp to tmpfs. Temporary files will no longer be placed on the physical disk but in a virtual RAM disk.
Open a terminal and type:
$ sudo cp -v /usr/share/systemd/tmp.mount /etc/systemd/system/
$ sudo systemctl enable tmp.mount
Reboot the computer.
Should you experience issues, you can always undo the change by typing:
$ sudo rm -v /etc/systemd/system/tmp.mount
Activate the zram system kernel function
If your PC has enough memory, zram could be used to replace the /swap.img file altogether.
Enabling zram causes conflicts with zswap, which is activated by default. Disable it by typing the following command in your terminal:
$ echo 0 > /sys/module/zswap/parameters/enabled
Now we can load the zram module:
We should find a device node named /dev/zram0. Let’s allocate a size for it:
$ echo 1024M > /sys/block/zram0/disksize # change size to your liking.
Format that new device as if it was just a normal disk partition we designated for swap:
$ mkswap --label zram0 /dev/zram0
$ swapon -p 100 /dev/zram0
To set zram permanently, once again run gedit and add or change following lines in /etc/default/grub:
GRUB_CMDLINE_LINUX_DEFULT=""
GRUB_CMDLINE_LINUX="zswap.enabled=0"
Save the file and run:
to update the bootloader config files.
Now, we make sure the zram module is loaded at boot, and knows the number of devices we need (if we were also using zram for other tmpfs directories like /tmp, we’d have to increase the number):
$ echo "zram" > /etc/modules-load.d/zram.conf
$ echo "options zram num_devices=1" > /etc/modprobe.d/zram.conf
Create a udev rule so that the device node is formatted automatically as swap:
$ sudo -i
$ [sudo] password for **my username**:
$ root@yourmachinename:~# cat > /etc/udev/rules.d/99-zram.rules KERNEL=="zram0", ATTR{disksize}="1024M" RUN="/usr/sbin/mkswap -L zram0 /dev/zram0", TAG+="systemd"
Add the device to /etc/fstab. Additionally, we can give the pri=value as an option to the swap entry:
$ sudo -i
$ [sudo] password for **my username**:
$ root@yourmachinename:~# printf "/dev/zram0\tnone\tswap\tdefaults,pri=100\t0\t0\n" >> /etc/fstab
$ root@yourmachinename:~# tail /etc/fstab # to check the output.
Reboot and verify that the swap device is active:
$ history | tail -n 2
$ swapon
Lower the pressure on the inode cache
If your PC has has enough free RAM available, you can also achieve a little more performance by lowering the tendency on reclaiming the memory which is used for caching of directory and inode objects.
Warning, clearing cache less frequently can impact new processes trying to load (bad_address or address_in_use).
Open your terminal and type:
$ gedit admin:///etc/sysctl.conf
Our text editor opens. Add following lines to the config file:
# Customize cache management
vm.vfs_cache_pressure=50
and save. This setting will be activated after rebooting your computer.
These are just some tips I think are useful. Should something be missing or you have an item that belongs in this list, please let me know by mail.
Ref: Web: zram: Compressed RAM based block devices - Kernel.org.